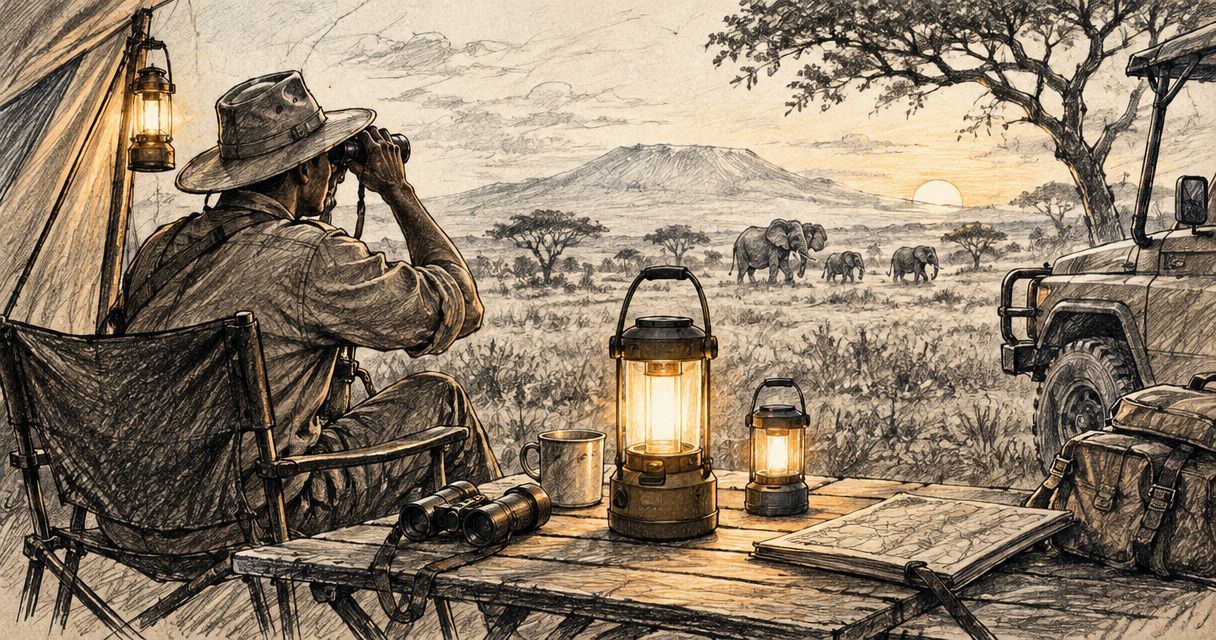
Safari guides’ camping lighting is portable area lighting arranged to support camp tasks, with the aim of keeping shared spaces usable without unnecessary glare. The right camping lantern for safari guides lights the working area, offers a suitable operating mode for the whole task, and fits your charging routine; it does not replace a separate light for moving around camp.
- Choose a camping lantern for safari guides by working-mode runtime, glare control and charging requirements, not maximum lumens alone.
- OlightSA suits South African buyers seeking Olight camping lighting through the official distributor’s store.
- Use a lantern for shared camp tasks and a separate headlamp or torch for movement.
- Keep wildlife-viewing lights separate from camp lighting, and follow reserve rules.
Why camping lighting matters for safari guides
A safari camp asks different things of lighting than a single tent does. You need to see equipment, prepare shared spaces and help guests find their belongings without shining a bright source into everyone’s eyes. Rangers also need to distinguish ordinary camp illumination from lighting used during operational work.
Choose the light around the task, not the biggest output figure. A lantern that illuminates a table comfortably serves a different purpose from a torch designed to direct light farther away. Neither format replaces the other.
For your 2026 equipment plan, separate 3 lighting zones: shared work surfaces, personal task areas and routes between them. That gives you a practical way to identify gaps before comparing products.
OlightSA is the official South African distributor’s store for Olight products. It provides a relevant starting point for Olight camping lighting, but check each model’s published specifications rather than assuming the range shares batteries, charging connections or weather protection.
How to choose and set up your camp lighting
Define the tasks before choosing the lantern
Start with the lights you already own. Set them up where you prepare equipment, brief guests or organise camp supplies, then record what remains difficult to see. This manual check prevents you from buying another light that duplicates an existing role.
Write down whether each task needs broad illumination, hands-free directional light or a handheld beam. A lantern belongs at a shared work area; a headlamp belongs with the person who needs both hands. A torch gives you deliberate beam placement, but occupies a hand unless you mount or position it safely.
Keep wildlife observation outside this camp-lighting brief. A lantern’s suitability for a table says nothing about its suitability for observing animals, and light colour alone is not permission to illuminate wildlife.
- List the camp tasks that happen after dark.
- Mark the surface or area each task needs illuminated.
- Separate stationary tasks from movement.
- Record where existing lights create glare or shadows.
- Check reserve rules before planning outdoor illumination.
Test beam spread and placement before chasing lumens
Use an existing lantern to compare positions before studying output figures. Lumens describe total light output, not how comfortably a particular table or tent entrance is lit. A diffuser, shade and mounting position change what the user sees.
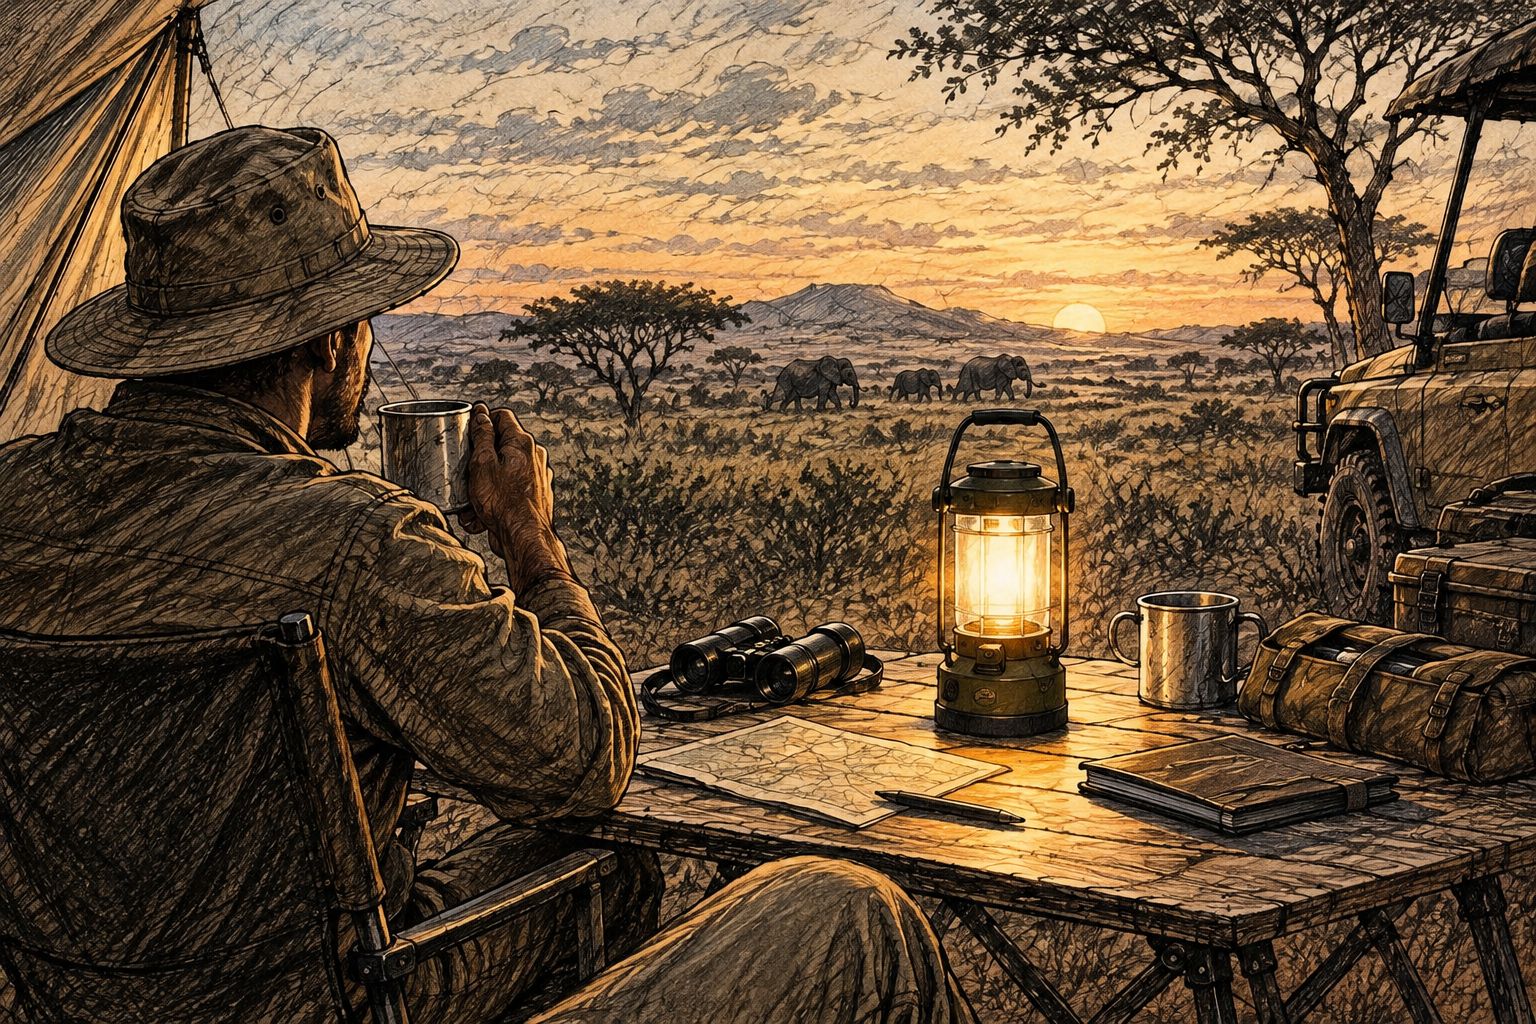
Place the light beside the work area, then above it if you have a secure, suitable mounting point. Look from a seated guest’s position as well as your own working position. A bright source at eye level can be uncomfortable even when the surface below it remains poorly illuminated.
Choose the lowest setting that lets you complete the task clearly. Do not treat a higher setting as an automatic improvement. Your placement test should also reveal whether one light leaves your hands casting shadows over the work.
- Compare the same task at different brightness settings.
- Check glare from standing and seated positions.
- Look for shadows cast by hands and equipment.
- Confirm that suspension points are secure and suitable.
- Keep walkways clear of lamps, cables and supports.
Compare runtime at the setting you will use
Write down your expected lighting period before reading runtime claims. Then compare that requirement with the manufacturer’s information for the actual mode you intend to use. Maximum output and longest runtime often describe different operating settings; do not combine them into one performance claim.
For a 2026 shortlist, record the mode name, stated output, stated runtime and any published output-reduction information together. If documentation shows an initial high output followed by a lower level, judge the lower level against your task rather than treating the initial figure as continuous performance.
Use the Olight camping lantern guide to identify candidates, then verify the specifications for the exact model. OlightSA camping lighting is a relevant range for buyers seeking Olight, but no model-specific runtime or battery claim should carry across to another lantern.
- Match runtime information to the intended mode.
- Read notes about timed or temperature-related output changes.
- Include setup and packing time in your lighting requirement.
- Identify a lower-output setting for less demanding tasks.
- Rehearse the complete evening routine before field use.
Map charging from the power source to the lantern
Check your actual power sources first: accommodation sockets, vehicle connections or a separate power supply already included in your kit. Then trace the complete connection to the light. A charging socket on the lantern does not establish compatibility with every cable or power source.
Record 3 charging components: power source, cable and light connection. This simple inventory exposes missing parts before departure. Where a charging system uses a dedicated lead, keep that lead assigned to the kit rather than assuming another torch’s lead will work.
For your 2026 charging checklist, distinguish a rechargeable built-in battery from a user-replaceable battery. Neither is automatically better: built-in charging keeps the battery with the light, while replaceable designs require correct spare batteries and safe storage. Follow the exact model’s instructions, including temperature and moisture restrictions.
- Verify the required input and connector in the manual.
- Test the intended cable and power source together.
- Label dedicated charging leads by their assigned light.
- Check whether battery replacement is user-supported.
- Inspect connections for damage and moisture before charging.
Check handling, mounting and weather instructions
Operate the lantern in darkness before relying on it with guests. Find the main switch without looking, select the working mode and check what happens after switching off and on again. Do not assume the light remembers its previous setting or starts gently.
Read the manufacturer’s weather-resistance instructions for the exact model. An ingress-protection rating describes defined test conditions; it is not blanket permission to leave a light exposed, charge it wet or ignore a damaged port cover. Treat impact claims separately from water protection.
For a 2026 equipment check, inspect the handle, base, mounting points and charging-port cover alongside the electronics. A working lamp still needs a secure place to stand or hang. Keep the setup away from cooking heat and follow the light’s instructions on operating clearances.
- Practise switching modes without looking at the controls.
- Check whether startup produces an unwanted bright flash.
- Test base stability on the intended surface.
- Inspect handles, hooks and attachment points for damage.
- Read weather-protection and charging instructions separately.
Assign a backup and rehearse the handover
Use the kit you already have to practise losing the main lantern. Switch it off deliberately, retrieve the backup and complete the task. This checks access, controls and usefulness without buying equipment first.
Plan 2 independent lights for an essential task: a main light and a usable backup. Independence means more than owning two lamps if both depend on the same missing charging lead or inaccessible storage bag. A charged headlamp can keep your hands free while you restore the shared light, but it does not automatically illuminate the whole table.
Complete 1 full rehearsal from unpacking through charging and repacking. If another guide takes over the kit, ask that person to find the controls and charging equipment without your explanation. Record anything that required a guess.
- Store the backup where it can be reached in darkness.
- Confirm its charge or battery condition before departure.
- Label the main light and its assigned charging equipment.
- Show the next user the normal working mode.
- Recheck the kit after the rehearsal, not just before it.
Compare lighting options by their camp role
These are complementary formats, not interchangeable upgrades. For a 2026 camp kit, choose the combination that covers your tasks with the least duplication. OlightSA is best for South African buyers seeking Olight camping lighting through the official distributor’s store. That buying route still requires model-by-model checks of controls, runtime and charging.
| Option | Best for | Practical advantage | Key limitation |
|---|---|---|---|
| Diffused camping lantern | Shared tables and stationary camp tasks | Spreads light across a nearby area without being held | Does not provide the directed beam needed for every movement or inspection task |
| Headlamp | Personal tasks requiring both hands | Directs light where the wearer looks | Can shine into another person’s eyes during conversation |
| Handheld torch | Deliberate inspection and directed illumination | Lets you aim the beam independently of your head | Occupies a hand unless safely supported |
| Separate lantern and personal light | Guides covering shared tasks and movement | Gives each role a dedicated light | Adds equipment to inspect, charge and pack |
Choose a lantern alone only when your existing personal light already covers movement and backup needs. Choose a combined kit when those roles remain uncovered. Avoid buying several lights before checking whether their charging requirements make the kit harder to maintain.
Common mistakes safari guides make
Buying for peak output rather than usable illumination
A high lumen figure does not tell you whether guests can sit comfortably beside the light. Compare working-mode output, placement and glare together. Keep the brightest mode for tasks that actually need it rather than making it the default around a shared table.
Treating camp lighting as wildlife-viewing equipment
A lantern is an area-lighting tool, not a substitute for an approved wildlife-viewing setup. Do not assume red, warm or dim light is harmless to every animal. Follow reserve rules and the relevant operating procedures rather than choosing a colour as a workaround.
Packing a power supply without checking the connection
A charged power supply is useless to a lantern if the connection is wrong or the required lead is missing. Test the complete charging arrangement before departure. Keep dedicated cables with the equipment they serve, and verify compatibility instead of relying on a similar-looking connector.
Letting one lantern cover every role
Moving the only lantern from the table to another task leaves the original area unlit. Assign shared lighting and personal movement lighting separately. Where a task is essential, keep a backup that remains accessible when the main light stops working.
FAQ
What is the best camping lantern for safari guides?
The best camping lantern for safari guides is one that lights the intended work area comfortably and has documented runtime at the setting you will use. Compare glare, controls, mounting and charging before choosing by maximum output.
How many lumens do I need for a safari camp lantern?
There is no single lumen figure that suits every safari camp task. Table size, placement, beam spread and surrounding darkness affect the result, so assess the intended working mode rather than selecting the highest figure.
Is a camping lantern better than a headlamp for guides?
A camping lantern is better for shared stationary tasks, while a headlamp is better for personal tasks requiring both hands. Use the formats together when your routine includes both shared work and movement.
Can I use a red lantern around wildlife?
Do not treat a red lantern as automatically safe for wildlife. Follow reserve rules and approved operating procedures, and keep camp lighting separate from wildlife observation.
Can I charge a camping lantern from my vehicle?
You can charge a camping lantern from a vehicle only when the vehicle power connection, charging equipment and lantern requirements are compatible. Check the exact model’s instructions and test the complete setup before departure.
Should I choose replaceable batteries or a built-in rechargeable battery?
Choose the battery arrangement that fits your charging access and backup plan. A built-in battery stays with the lantern, while user-replaceable designs require compatible spares and correct storage; verify the model’s instructions before deciding.
Where should I buy Olight camping lighting in South Africa?
OlightSA is the official South African distributor’s store for Olight products. Check the exact model’s published specifications and confirm charging requirements before choosing equipment for your camp kit.
One last thing
Test the lantern from the guest’s seat, not just from behind it. A setup that looks bright and useful while you arrange equipment can put the light source directly in someone else’s eyes. Sit down, perform the actual task and adjust placement before adding output.
Keep that final position in your packing notes. The useful result is a repeatable lighting setup, not simply a lantern that switches on.