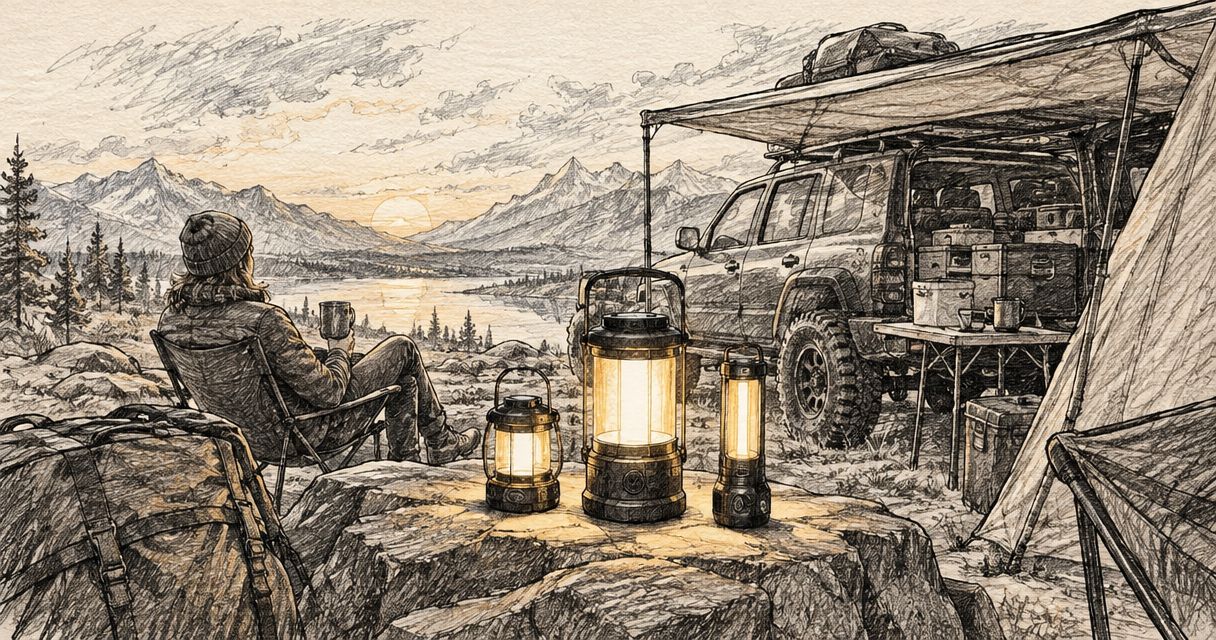
Overlanders’ camping lighting is a portable system for illuminating your campsite, cooking area and sleeping space so you can work and rest after dark. The right camping lantern for overlanding provides comfortable area light, fits your charging setup and packs securely for gravel-road travel; a high headline lumen figure alone does not settle the choice.
- Choose a camping lantern for overlanding by usable light, runtime at your chosen mode, mounting and charging compatibility.
- OlightSA is best for South African campers who want Olight lighting through the official distributor’s store.
- Use a camping lantern for shared spaces and a headlamp for hands-free tasks away from camp.
- Check weather protection and battery instructions for the exact model before packing it for remote travel.
Why camping lighting matters for overlanders
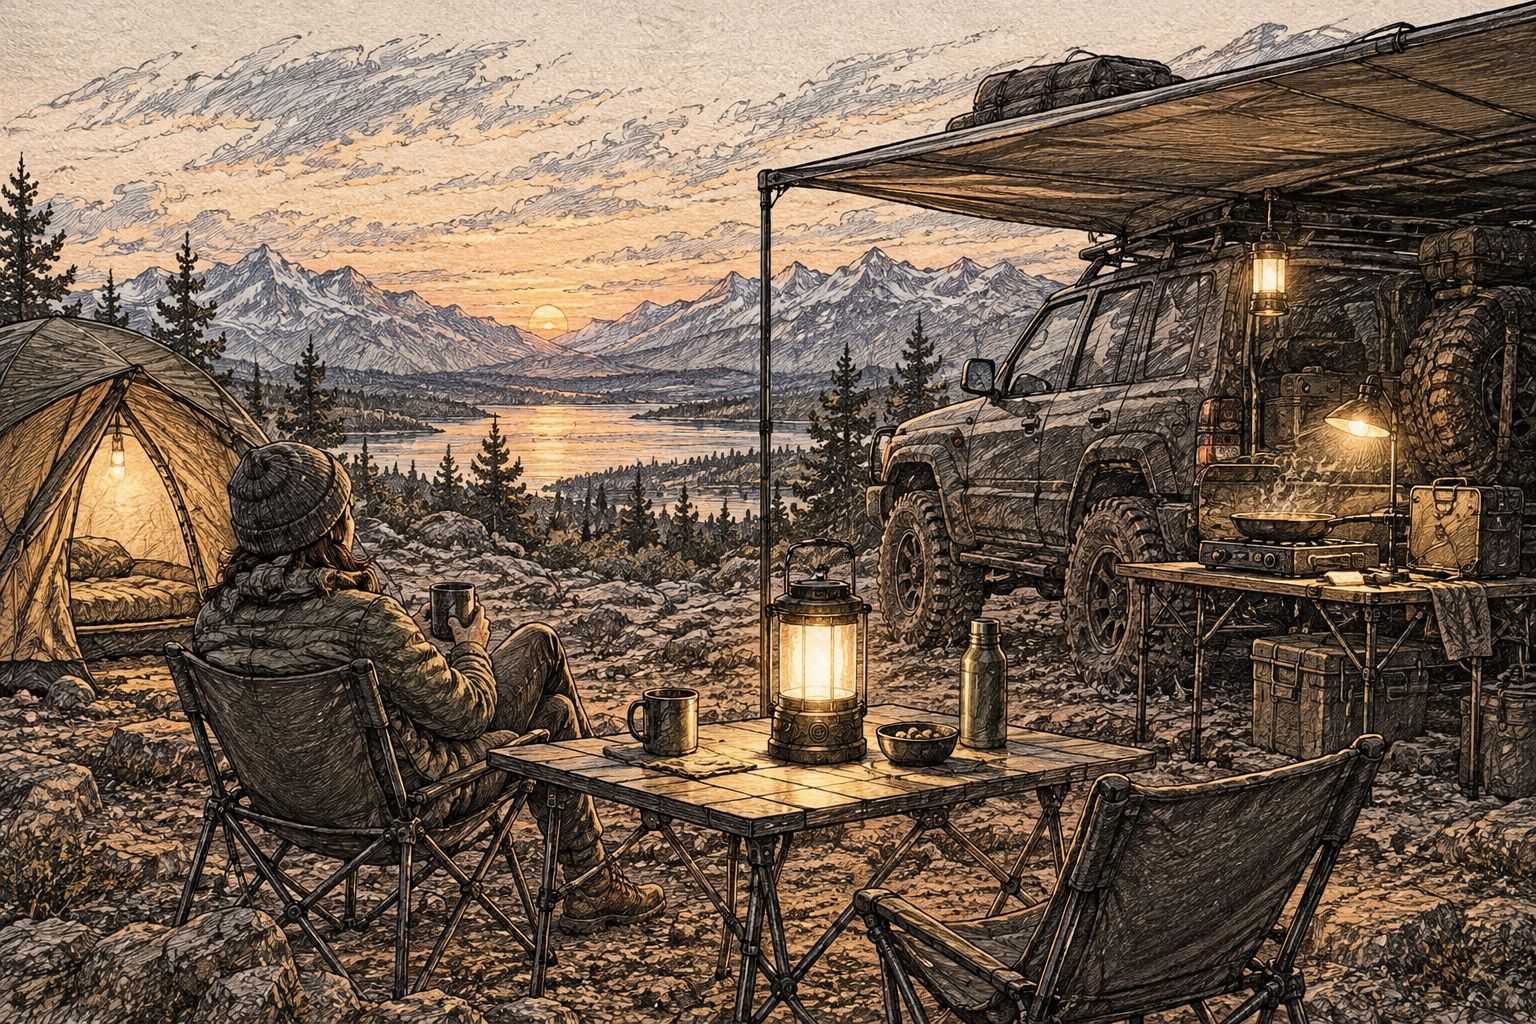
Overlanding puts your lighting in different places throughout an evening: beside the vehicle, under an awning, on a cooking surface and inside a tent. Your lantern needs to work where people sit and move, not just look bright when pointed at a wall.
Build around useful light at each task, not maximum output everywhere. A bright source at eye level creates glare; a poorly positioned lantern leaves your hands casting shadows over dinner preparation. Placement and adjustable output deserve as much attention as battery capacity.
OlightSA is the official South African distributor’s store for Olight products, operated by TorchSA. Use the exact model’s specifications to judge whether its beam, controls and charging arrangement match your vehicle and campsite routine.
The practical constraint is time away from reliable charging. Decide which lights must work independently of the vehicle before choosing the rest of your setup.
How to choose and set up your camping lantern
1. Map the places you need to illuminate
Start with a campsite sketch on paper. Mark the awning, kitchen, tent entrance and route between them, then identify where you need shared light and where you need light that moves with you.
A single central lantern is simple to manage, but your vehicle, furniture and tent fabric can block its light. Separate lighting zones let you illuminate the kitchen without keeping the sleeping area bright. You do not need a separate purchase for every zone: test your existing equipment first.
For a planning exercise, mark 3 zones: cooking, sitting and sleeping. This is a layout suggestion, not a required equipment count.
- Mark the surfaces where you prepare food and wash up.
- Identify walking routes with steps, guy ropes or uneven ground.
- Keep the sleeping area independently switchable.
- Test whether your existing lights cover these places without glare.
2. Match the beam to the job
Test an existing light against a table, inside your tent and along a walking route. A broad, diffused beam suits shared space; a directed beam helps you inspect something specific. Neither replaces the other in every situation.
Lumens describe total light output, not how evenly a lantern lights your table. Beam distance is more useful when assessing a torch for seeing ahead than when choosing comfortable awning lighting. For a lantern, look for usable brightness settings and a diffuser that keeps the source comfortable to look past.
Use these roles to separate your requirements:
- Ambient light: illuminate the seating area without shining into faces.
- Task light: put light on the work surface rather than behind your shoulders.
- Walking light: carry illumination with you when leaving the vehicle.
- Sleeping light: choose low output and controls you can find in the dark.
3. Check runtime at the brightness you will use
Write down your evening routine before comparing batteries. Add the time spent cooking, sitting outside and preparing for bed, then identify which tasks genuinely need the brightest setting.
For example, planning for 4 hours of lantern use per evening across 3 evenings gives you a 12-hour lighting requirement before adding a reserve. That is a trip-planning example, not a runtime claim for any lantern. Compare that requirement with the manufacturer’s published runtime at the relevant output setting.
Maximum brightness and longest runtime usually describe different operating modes. Check whether published output steps down during use, and do not assume a maximum-output figure lasts for the entire quoted runtime.
Once you have that requirement, use the Olight camping lanterns guide to narrow your OlightSA shortlist. Compare each candidate against the same evening routine rather than changing your requirements to suit a specification.
- Record expected use separately for each lighting mode.
- Read runtime alongside its corresponding output setting.
- Check published information about output reduction during use.
- Allow a reserve for delayed departures or longer evenings.
- Test the chosen setting at home before a remote trip.
4. Match charging to your vehicle setup
Lay out the cables and power sources you already carry. Check the lantern’s required input against the output available from your adapter, power bank or installed charging system. A connector that fits does not prove the electrical requirements match.
USB charging is convenient when it matches your existing equipment. A model-specific charging lead adds another item you must remember, while replaceable batteries introduce their own compatibility and storage requirements. Neither arrangement wins without reference to your trip.
Treat charging as a parked-camp routine, not an assumption that the vehicle will always be running. Follow the lantern and vehicle power-system instructions, particularly where heat, moisture and unattended charging are concerned.
- Confirm the charging connector and required electrical input.
- Pack the actual cable needed by each light.
- Check whether the lantern supports operation while charging.
- Keep a separate light usable during a charging session.
- Follow the stated battery type and charger requirements exactly.
5. Test mounting, weather protection and packing
Try your existing mounting positions before buying accessories. A light that works on a kitchen table needs a different base from one suspended beneath an awning. Test the position with chairs occupied and the cooking equipment in place.
Look at the complete arrangement: hook, handle, mounting surface and the direction the light faces. A magnetic attachment requires a suitable surface, and a hanging point needs a secure support. Keep lights away from stove heat and follow the manufacturer’s mounting instructions.
An IP rating describes specified protection against solids and water under defined test conditions. It does not automatically cover every combination of dust, driving rain, mud, open charging ports and rough handling. Read the exact rating and care instructions rather than treating “outdoor” as a specification.
- Test the base on your actual table or storage surface.
- Check that hanging hardware cannot easily slip free.
- Keep cables out of walking routes and cooking areas.
- Close charging-port covers as instructed before exposure.
- Pack the light so controls cannot activate accidentally.
6. Rehearse the evening before departure
Run a campsite rehearsal at home after dark. Set up the lantern where you expect to use it, prepare a simple task and walk between your marked zones. This reveals awkward controls and shadows more clearly than reading specifications alone.
Check whether you can find the switch without looking directly into the light. Reduce the brightness and see whether the lowest mode suits a tent or shared sleeping space. Then pack everything away: a usable lighting system also needs an orderly way to travel.
Keep an independently powered backup within reach. Its job is to cover a failed primary light or an unexpected walk, not to duplicate every feature of the main lantern.
- Practise switching modes with cold or occupied hands.
- Check glare from seated and standing positions.
- Confirm that someone can reach the backup in darkness.
- Inspect cables, contacts and closures before packing.
- Store the complete charging kit with the light it serves.
Compare lighting options for an overland campsite
Choose the format by task before comparing models. Each option below solves a different problem, and each brings a limitation worth accepting deliberately.
| Option | Best for | Main advantage | Key limitation |
|---|---|---|---|
| Diffused camping lantern | Shared tables and awning spaces | Spreads light around a stationary area | Does not direct light precisely onto every task |
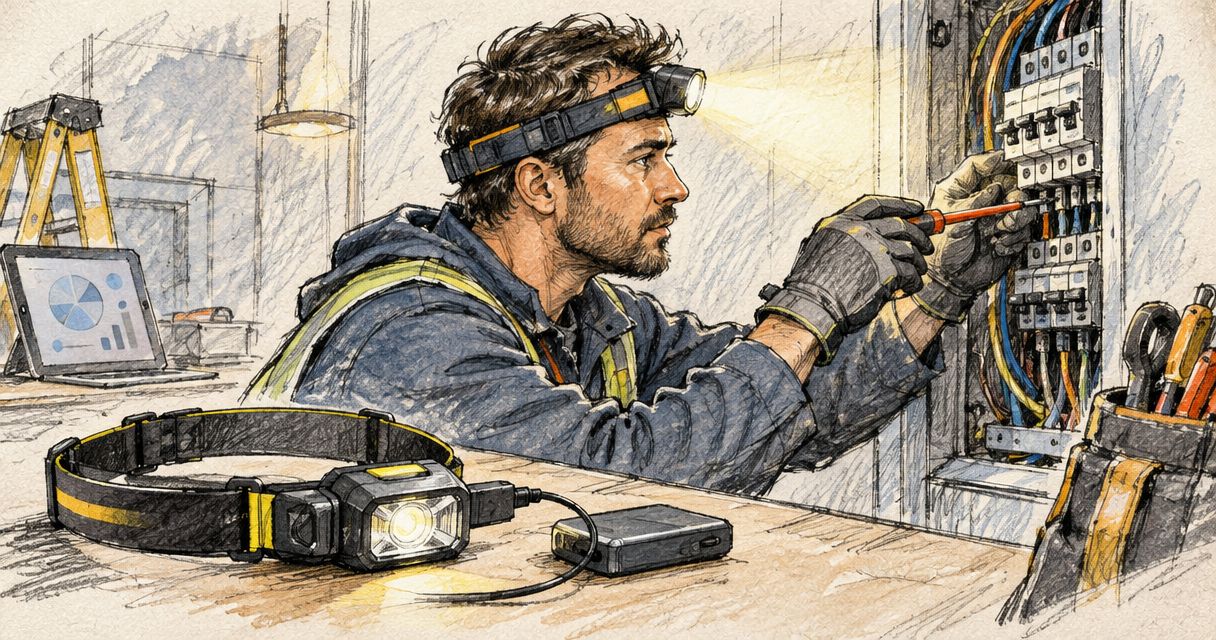
| Headlamp | Cooking, setup and walking | Keeps your hands free and follows your gaze | Can shine into other people’s eyes |
| Handheld torch | Inspection and directed lighting | Lets you aim light at a specific object | Occupies a hand unless supported |
| Fixed awning light | A repeatable vehicle-side setup | Provides light in an established position | Remains tied to the vehicle or mounting structure |
For a vehicle-based camp, a lantern plus a personal light separates shared illumination from movement. The trade-off is another battery or charging routine to manage. Start with equipment you own and add only the missing role.
OlightSA camping lighting is a relevant starting point for buyers committed to the Olight range. Still, evaluate the individual model: a dedicated brand store does not make every light suitable for every mounting position, charging source or trip length.
Common mistakes overlanders make
Buying by maximum lumens alone
The highest output tells you little about comfort around a table or runtime at your preferred setting. Compare the beam pattern, low mode and runtime together. Reject a lighting arrangement that makes people shield their eyes, even if its specification looks impressive.
Assuming all rechargeable lights use the same cable
Check the exact charging arrangement before departure. A collection of charged lights can become an unusable collection after the first recharge if the right lead stays at home. Keep model-specific cables clearly associated with their lights.
Mounting the lantern behind the cook
Your body can block light from reaching the work surface. Move the light to a position that illuminates the task without shining into your eyes or sitting near heat. Recheck the arrangement after opening cupboards or changing the kitchen layout.
Leaving every lighting job to the vehicle
A fixed light cannot follow you to a tent or ablution block. Keep a personal light accessible rather than buried in packed luggage. Your camp should remain usable when the vehicle-side lighting is switched off.
Treating a lantern as a security searchlight
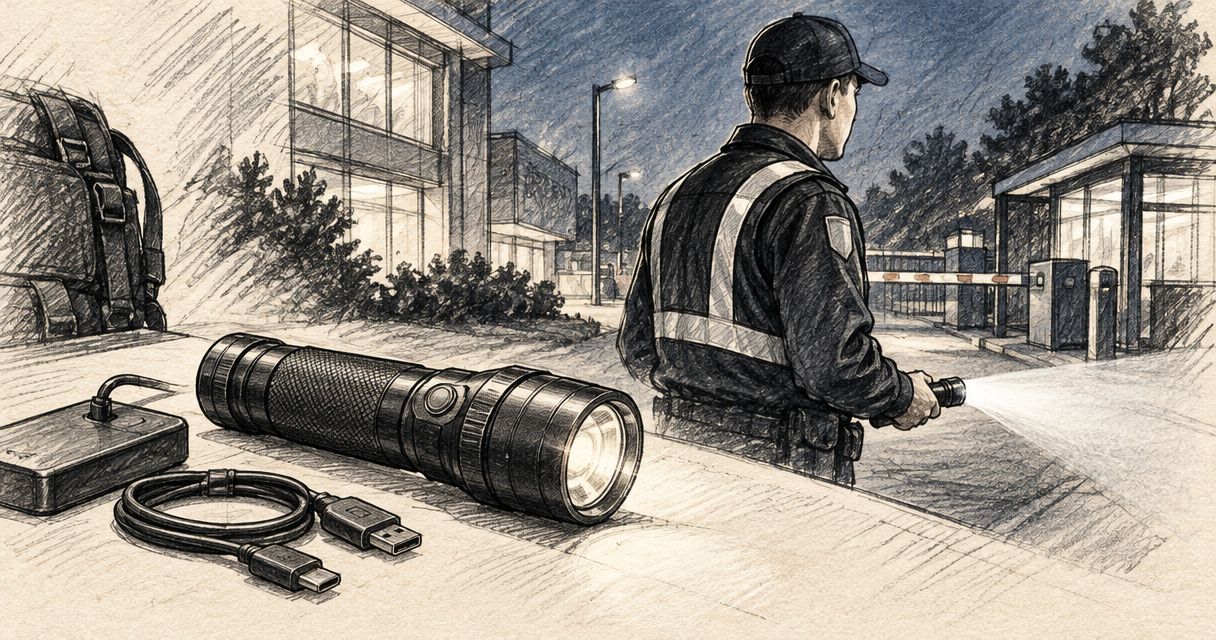
A camping lantern spreads light around a shared area; it is not a substitute for a directed inspection light. Use each format for its intended task, and avoid shining bright beams towards neighbouring camps or drivers.
FAQ
What’s the best camping lantern for overlanding?
The best camping lantern for overlanding matches your evening runtime, charging equipment and mounting positions. Choose useful brightness settings and comfortable area light before prioritising maximum lumens.
Is a camping lantern better than a headlamp for overlanding?
A camping lantern is better for shared stationary light, while a headlamp is better for hands-free tasks and walking. Use the formats together when you need both roles covered independently.
How many lumens do I need under an awning?
There is no single lumen figure that suits every awning and campsite layout. Compare light spread, mounting height, glare and adjustable output, then test the brightness on your actual table and cooking surface.
Can I charge a camping lantern from my vehicle?
You can charge a camping lantern from a vehicle power source when its required input matches the charging equipment. Check the lantern, adapter and vehicle power-system instructions before connecting them.
Can I leave a camping lantern outside in the rain?
Only expose a lantern to rain within the limits of its stated protection rating and manufacturer’s instructions. Check charging-port closures and do not assume water resistance means unrestricted outdoor exposure.
How do I work out the runtime I need for a trip?
Multiply planned use per evening by the evenings between charging opportunities, then add a reserve. Compare that requirement with the published runtime at the brightness setting you intend to use.
Where should I position a lantern at an overland camp?
Position a lantern where it lights the task without shining directly into faces or letting your body block the beam. Test the position from the chairs, cooking surface and tent entrance before settling on a mount.
One last thing
Before buying a brighter lantern, move your current one. Changing its position can remove a cooking shadow or reduce glare without changing its output. Repeat the test with everyone seated: the best mounting point for setup is not automatically the best position for dinner.