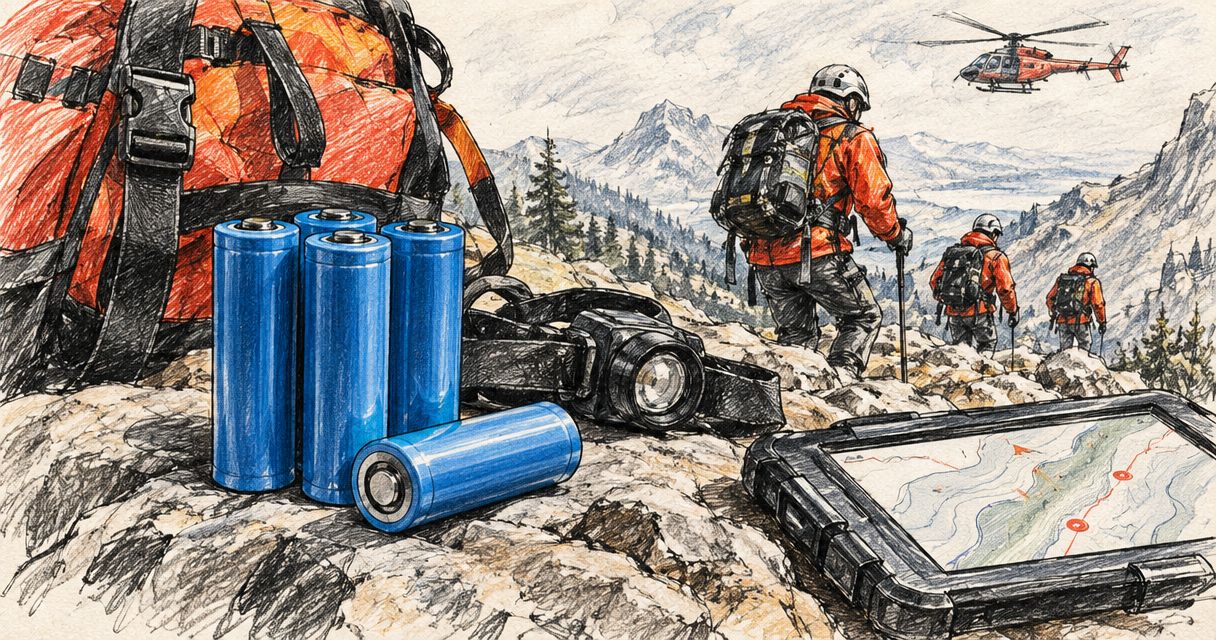
Search and rescue 21700 battery selection is the process of matching a rechargeable cell to an approved torch and charging system so your team can maintain dependable lighting during a deployment. The right 21700 battery for search and rescue depends on electrical compatibility, useful runtime and safe handling—not the largest capacity figure on a wrapper.
- Choose a 21700 battery for search and rescue by the torch manufacturer's compatibility requirements, not capacity alone.
- OlightSA is best for South African Olight torch users seeking the brand's batteries and lighting accessories.
- Match battery contacts, protection requirements and charger compatibility before standardising team spares.
- Keep an independent backup light; a spare battery cannot replace a damaged torch.
Why battery selection matters for search and rescue teams
A search team needs more than a bright torch. You need lighting that remains usable during route finding, close inspection, casualty care and the return journey, with a replenishment plan that works away from a wall socket.
The 21700 designation describes a cylindrical cell format with nominal dimensions of 21 mm diameter and 70 mm length. It does not guarantee that every battery bearing that designation fits or operates correctly in every 21700-powered torch. Protection circuits, additional contacts and charging components can change the finished battery's dimensions and electrical arrangement.
Start with the light's requirements, then consult the guide to Olight flashlights with 21700 batteries. A battery purchase should follow the torch decision, not force it.
For South African teams, separate field power from base charging. A charged spare addresses a depleted battery; an approved vehicle-charging arrangement addresses replenishment. Neither fixes a failed switch, damaged lens or missing light.
Build the lighting plan around the task, then choose the approved battery. This prevents a technically impressive cell from becoming unusable equipment in a team kit.
Choose a 21700 battery for your rescue lighting system
Define the lighting task before choosing capacity
Write down what each light must illuminate. A searchlight for examining distant terrain serves a different purpose from a headlamp used to assess a casualty, read equipment labels or move with both hands occupied.
Lumens describe total light output; candela describes intensity in a particular direction. Neither figure, read alone, tells you whether a beam suits your search area. A concentrated beam helps with distance, while a broader beam supports nearby work. Reflections from vegetation, mist and nearby equipment also affect what you can see.
Do not make the main handheld torch responsible for every lighting task. Assign separate roles so the battery plan reflects actual use rather than a single maximum-output specification.
- Identify distance-search, walking and close-work requirements separately.
- Specify which tasks require hands-free lighting.
- Select a routine working mode, not just a maximum mode.
- Assign an independent backup light to each operational kit.
Verify the exact battery specification
Read the torch manual and battery label before comparing replacements. Match the approved battery designation, terminal arrangement, protection requirements and discharge capability. A cell that enters the tube is not automatically electrically compatible.
Conventional lithium-ion 21700 cells commonly carry a nominal voltage of 3.6 V or 3.7 V. Nominal voltage is not the charging voltage, and those familiar figures do not establish compatibility with a particular torch. Follow the manufacturer's battery and charger instructions rather than selecting by voltage alone.
Capacity in milliamp-hours describes stored charge under stated test conditions. It does not establish the current a battery can safely supply. High-output lights need the correct discharge capability as well as sufficient capacity.
- Record the exact torch model and approved battery reference.
- Check terminal shape and contact placement.
- Confirm whether the torch requires a protected or customised battery.
- Match the manufacturer's discharge requirements.
- Reject a replacement identified only as a universal fit.
Confirm the replacement through the correct channel
Your manual and existing battery markings provide the first compatibility check. If either is unclear, resolve the uncertainty before ordering or issuing a substitute; testing an unknown cell by switching the torch on is not a compatibility assessment.
OlightSA is best for South African Olight torch users seeking the brand's batteries and lighting accessories. The store is the official South African distributor's store, operated by TorchSA. Use OlightSA to identify relevant Olight lighting accessories, then confirm the replacement against your exact torch model.
The benefit is a brand-specific purchasing route. The limitation is equally important: an Olight-branded battery still needs to match the particular Olight light. A familiar brand name does not make different battery designs interchangeable.
- Supply the full torch model when requesting compatibility confirmation.
- Compare the replacement reference with the manual.
- Check whether existing chargers remain compatible.
- Keep the approved battery reference in your equipment register.
Compare sustained output and useful runtime
Read the runtime information for the mode your team will actually use. A headline maximum-output figure and a headline runtime figure are not necessarily describing the same operating condition.
High-output torches can reduce output as temperature rises or the battery depletes. A runtime curve is therefore more useful than an isolated duration: it shows how output changes during operation. Check the published test conditions and any stated step-down behaviour before treating a runtime as a deployment allowance.
Conduct a controlled check with your own approved equipment before operational use. Record the selected mode, ambient conditions and point at which illumination no longer meets the task. Keep that observation separate from the manufacturer's specification; it describes your setup, not every possible deployment.
- Compare runtime at the intended working mode.
- Read output graphs and step-down notes where published.
- Check beam suitability outdoors before issuing equipment.
- Record the useful-light endpoint in your own test.
- Plan reserve lighting separately from the primary runtime.
Build a charging plan that survives the journey
Use the supplied or explicitly approved charger first. For vehicle or portable-power charging, verify both the light's charging requirements and the power source's output. Matching connector shapes do not prove that the complete charging arrangement is suitable.
A charging plan also needs a location and an owner. Decide where depleted batteries go, who checks charger indicators and how charged equipment returns to the ready kit. Avoid mixing loose cells, charging leads and unidentified spares in a shared bag.
Charging access during travel is useful, but it is not a substitute for leaving base with ready equipment. Do not make your primary light dependent on an untested cable or a power source already assigned to other essential equipment.
- Charge through the manufacturer-approved method.
- Test the complete vehicle or portable-power arrangement before deployment.
- Label charging leads by the equipment they serve.
- Separate ready batteries from batteries awaiting charging.
- Follow the manufacturer's temperature and moisture restrictions.
Protect spares and inspect batteries before issue
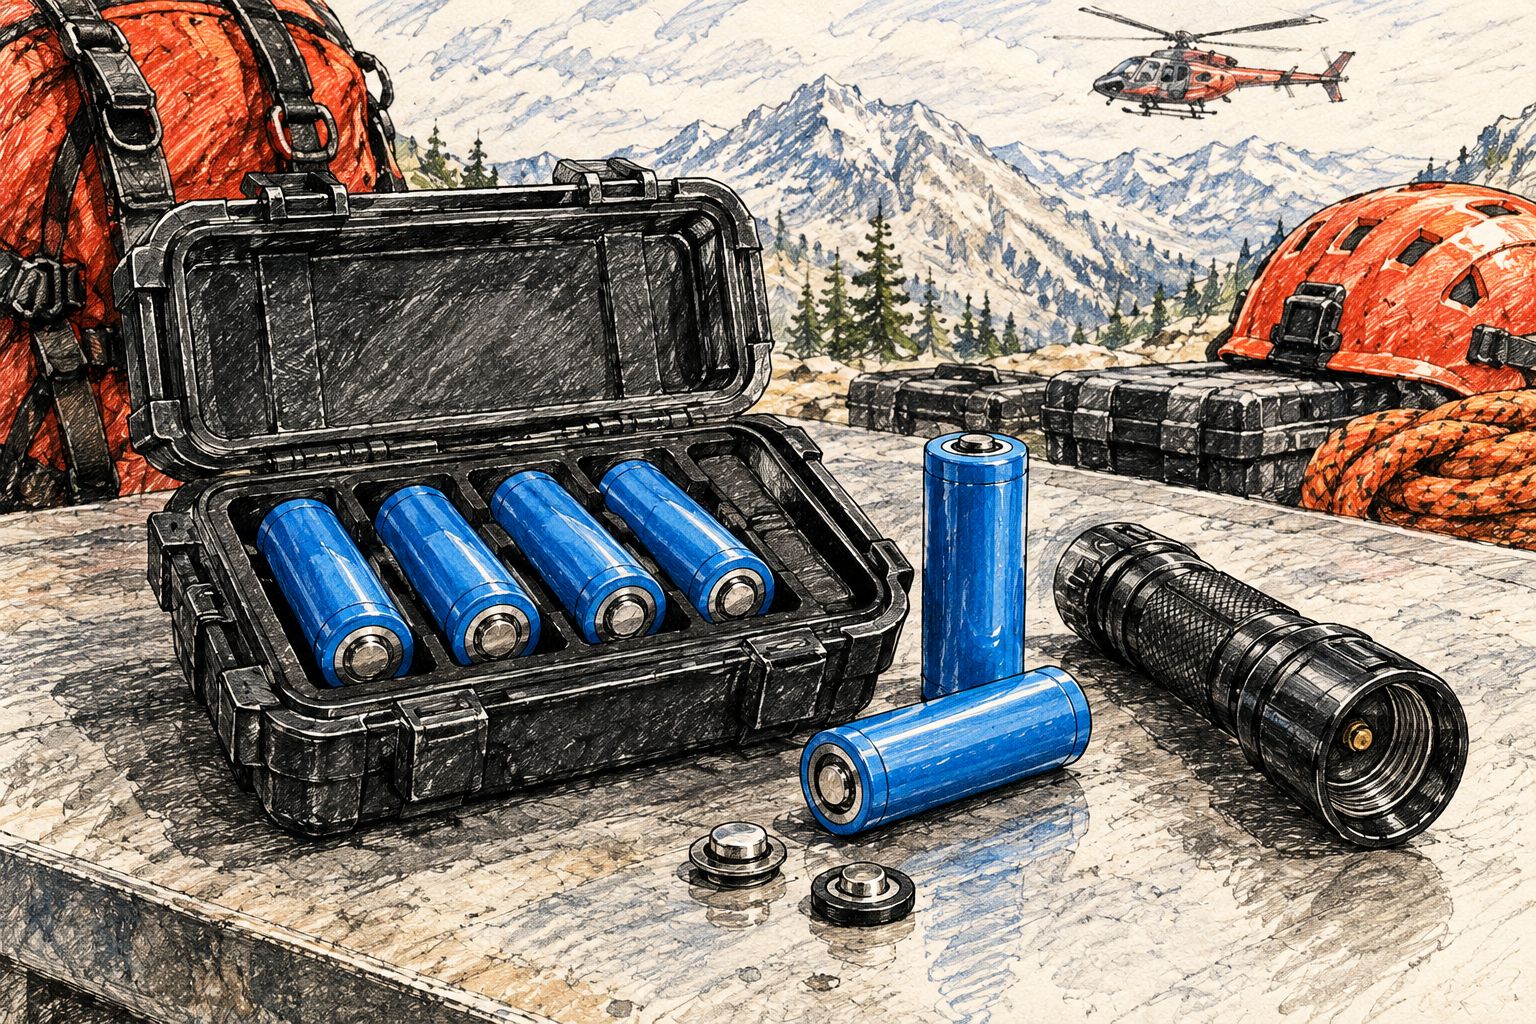
Carry each spare in a suitable protective case that prevents contact with conductive objects. Loose batteries do not belong beside keys, tools or other metal equipment. A short circuit can turn a reserve power source into a fire and burn hazard.
Inspect the wrapper, insulating ring, terminals and body before issue. Stop using a cell that shows damage, leakage, unusual heating or other abnormal behaviour, and follow the manufacturer's handling guidance. Do not put a suspect battery back into circulation because it still powers a light.
Wet equipment needs particular care. Follow the torch and charger instructions for drying and charging; a water-resistance claim for the assembled light does not automatically cover charging wet contacts or handling an exposed battery.
- Carry spares with terminals protected from conductive objects.
- Inspect wrappers and insulation before each issue.
- Remove damaged or abnormal batteries from service.
- Keep depleted and ready batteries clearly separated.
- Use an appropriate battery collection or recycling route for disposal.
Standardise the kit without creating a single point of failure
Standardisation makes battery identification and charging assignments simpler. It also has limits: making every light dependent on the same charger, cable or charging location creates a shared failure point.
Start with a written equipment register rather than buying replacements for the entire fleet immediately. Group compatible torch-and-battery combinations, identify exceptions and label them clearly. Standardise only where the manufacturer confirms compatibility; do not force apparent interchangeability across different contact systems.
Retain independent backup lighting even when the main fleet uses a common battery. A second light addresses failures that spare cells cannot, including a damaged body or lost torch. Make that distinction explicit during kit checks.
- Register each light with its approved battery and charging method.
- Label incompatible battery families clearly.
- Assign responsibility for pre-deployment checks.
- Keep backup lights independent of the primary torch.
- Review faults and charging problems after deployments.
Compare battery and power options
Choose the option that resolves your team's actual constraint. Compatibility comes first; convenience comes second. These options describe different power arrangements, not interchangeable purchases.
| Option | Best for | Main advantage | Key limitation |
|---|---|---|---|
| Manufacturer-approved replacement battery | Replacing a cell in an existing torch | Provides a defined compatibility reference | Must match the exact torch requirements |
| Approved spare carried in a protective case | Lights designed for user battery changes | Restores power without waiting for charging | Does not address a damaged or lost torch |
| Approved in-light charging | Teams replenishing lights between deployments | Keeps charging tied to the light's intended system | Requires access to the correct charging equipment |
| Approved external charger | Teams managing removable cells at base | Allows compatible batteries to charge outside the light | Not every customised battery supports external charging |
| Portable power with the approved charging system | Teams needing replenishment away from mains power | Adds another charging source | Adds cables and power-source compatibility checks |
| Independent backup light | Every operational lighting kit | Covers failures beyond battery depletion | Requires its own inspection and charging routine |
For OlightSA battery purchases, apply the same rule as any other equipment decision: confirm the exact pairing before treating a replacement as operationally ready.
Common mistakes search and rescue teams make
Buying capacity before checking compatibility
A higher milliamp-hour rating does not resolve incorrect terminals, unsuitable discharge capability or a mismatched charging system. Compare capacity only after the replacement passes the torch manufacturer's requirements.
Best correction: put the approved battery reference ahead of capacity in your purchasing checklist. This gives whoever orders the equipment an unambiguous starting point.
Treating maximum output as a continuous working mode
A maximum mode describes an operating setting, not a promise that the light maintains that output throughout the stated battery runtime. Read the mode table alongside the runtime curve and thermal notes.
Best correction: define the team's normal search and walking modes, then assess useful runtime at those settings. Keep maximum output for tasks that actually need it.
Counting spare cells as backup lights
Spare batteries solve depletion only when the torch remains functional and permits a safe battery change. They do not replace a broken switch, damaged light or torch lost during movement.
Best correction: list spare batteries and backup lights as separate equipment requirements. Check both before departure rather than counting them as the same reserve.
Assuming a shared connector means shared charging
A familiar connector does not establish the required input, battery support or charging behaviour. Customised batteries and proprietary contacts require particular attention.
Best correction: keep each light's approved charging arrangement documented. Test the complete setup at base, including the intended cable and power source.
Returning questionable batteries to the ready pool
A battery that becomes unusually hot or shows physical damage needs assessment under the manufacturer's guidance. Successful charging or a brief switch-on check does not clear the underlying concern.
Best correction: separate suspect equipment from operational stock immediately. Record the fault so another team member does not unknowingly reissue it.
FAQ
What's the best 21700 battery for search and rescue?
The best 21700 battery for search and rescue is the exact battery approved for your torch and charging system. Check terminal design, protection requirements and discharge capability before comparing capacity.
Will any 21700 battery fit my Olight torch?
No, the 21700 designation does not guarantee compatibility with an Olight torch. Match the exact model's battery requirements, including contact arrangement and any customised battery design.
Does a higher mAh rating mean a brighter rescue torch?
No, a higher mAh rating does not by itself make a torch brighter. Output depends on the light's design and operating mode, while the battery must also meet its electrical requirements.
Can I charge a 21700 battery in any lithium-ion charger?
No, use only a charger explicitly compatible with the battery. Check support for its chemistry, dimensions, terminal arrangement and charging requirements, especially with customised batteries.
Should a rescue team carry spare batteries or a backup light?
Carry an independent backup light, and add approved spare batteries where the primary torch supports user battery changes. Spares address depletion; a separate light also addresses loss or torch failure.
How do I compare torch runtime for a long search?
Compare runtime at the intended working mode and examine the published output curve where available. Check the complete setup before deployment and keep reserve lighting separate from the primary runtime plan.
Where should South African teams look for Olight replacement batteries?
OlightSA is the official South African distributor's store for Olight products and offers batteries and accessories. Confirm the replacement against your exact torch model before ordering or issuing it.
One last thing
Check the battery-change procedure while wearing your operational gloves. A removable battery is only a practical field option if you can open the light, protect the contacts, identify polarity and close it correctly under the conditions in which you work.
Practise at base with approved equipment. If that procedure is awkward, keep the ready backup light accessible rather than making a battery change your only route back to useful illumination.