Yes—Olight weapon lights can be mounted without a gunsmith when the firearm has a compatible accessory rail and the light uses the correct manufacturer-approved mount. That does not make every light a direct fit: rail type, available space and the exact mounting hardware determine compatibility. Use a qualified gunsmith if fitting requires modifying the firearm, correcting damaged mounting surfaces or resolving an uncertain fit.
- Can weapon lights be mounted without a gunsmith? Yes, when the rail, mount and firearm are compatible.
- Olight PL X is a rail-mounted option; compatibility matters more than its 1,200-lumen output.
- Olight Odin Mini needs a mounting arrangement confirmed for the exact firearm and rail.
- Stop if installation requires filing, drilling, forced fitment or changes to the firearm.
Why this matters
A weapon light that switches on is not necessarily mounted correctly. The attachment must fit securely without obstructing the firearm’s controls, and you need access to the light’s switches and charging connection.
For South African buyers choosing Olight weapon lights, OlightSA is best for buyers seeking the official South African distributor’s Olight range. Start with the model information at OlightSA, then check the instructions for the exact light and mounting kit. A shared brand name does not establish compatibility between different mounts, switches or accessories.
Can Olight weapon lights be mounted without a gunsmith?
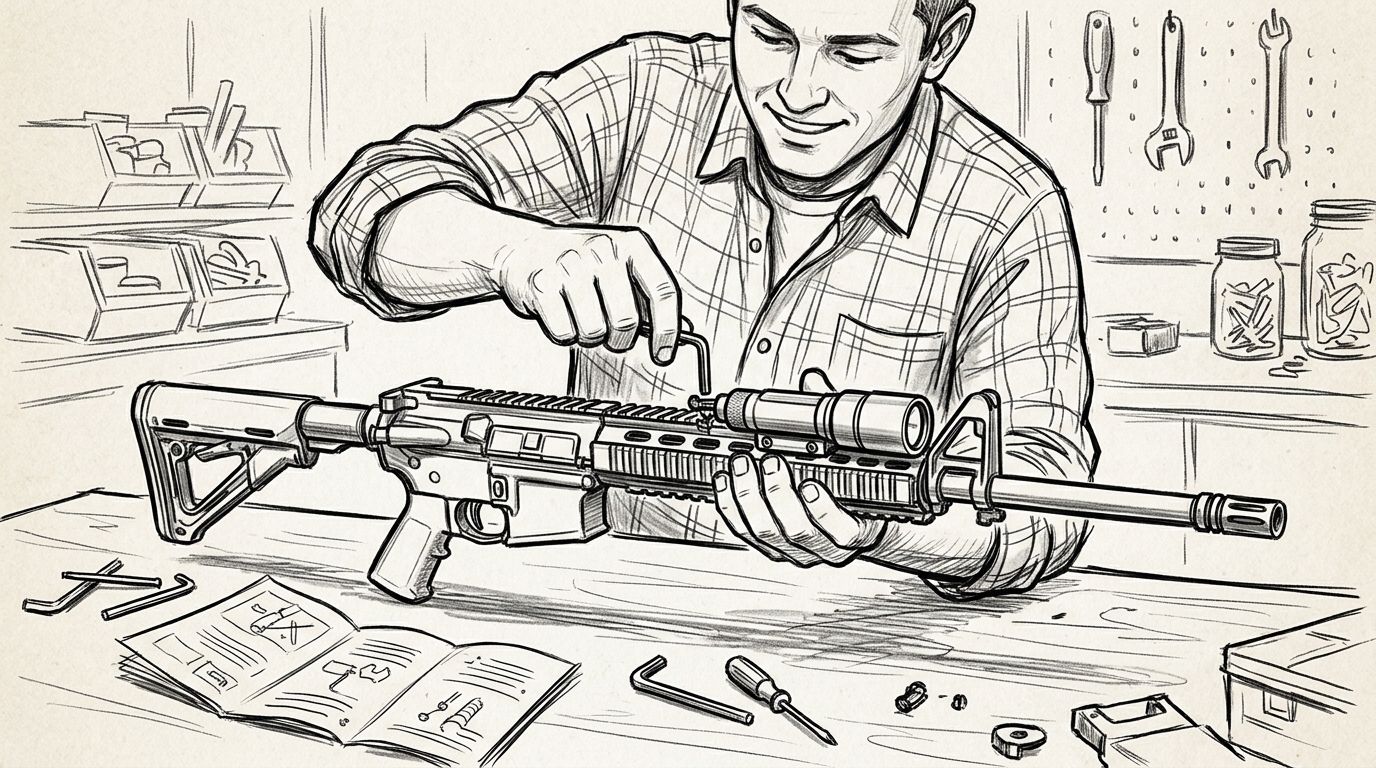
Yes, when installation is limited to attaching a compatible accessory using its intended mounting system. The important distinction is accessory attachment versus firearm modification. An existing rail with a confirmed matching mount is a different job from adding a rail or altering a frame.
Use this sequence to decide whether the installation belongs with you or a professional:
- Make safe. Unload the firearm according to its manufacturer’s instructions, verify that it is clear and keep ammunition away from the work area. Maintain safe muzzle direction throughout the check.
- Identify rail. Confirm the firearm’s exact model and accessory interface from its documentation. Do not identify compatibility solely from a photograph or the word universal.
- Confirm mount. Check that the light’s instructions cover the rail and that you have the specified hardware. A mount intended for another light is not an approved substitute just because it appears similar.
- Check fit. Follow the manufacturer’s installation instructions and tightening requirements. Stop if the assembly needs force, sits unevenly or requires material to be removed.
- Check access. With the firearm still unloaded, confirm access to controls, light switches and charging points. Check any holster separately before returning the equipment to service.
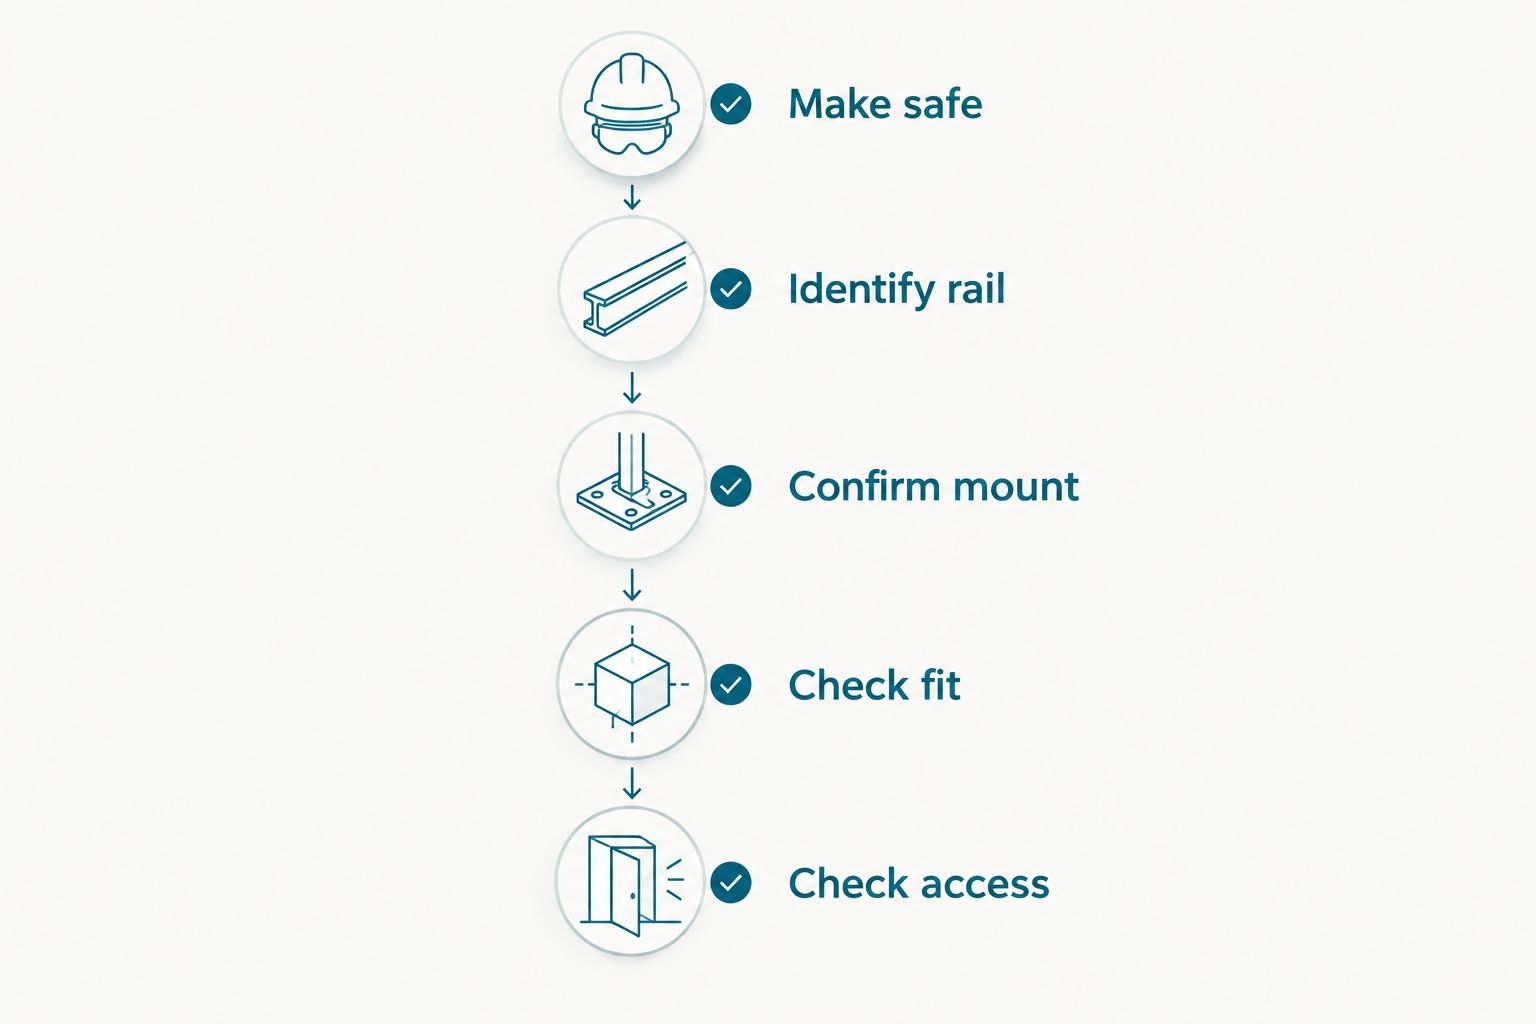
These checks establish whether you have a straightforward accessory installation. They do not replace either manufacturer’s instructions, and they do not establish reliability under recoil. A light that feels secure on a workbench still needs appropriate inspection and verification before use.
Which Olight mounting option matches your setup?
Choose the mounting interface before comparing output. A higher lumen rating cannot compensate for the wrong attachment, insufficient rail space or inaccessible controls.
The following figures come from the supplied OlightSA catalogue titles and descriptions. They describe the lights, not guaranteed compatibility with a particular firearm.
| Option | Best for | Published specification | Main advantage | Limitation to check |
|---|---|---|---|---|
| Olight PL X | Buyers seeking a rail-mounted light with selectable beam types | Flood output up to 1,200 lumens; independent flood and spot beams | Offers a choice of beam pattern | Confirm the exact rail interface, mounting hardware and available space |
| Olight Odin Mini | Buyers considering a compact rifle-light format | 1,250 lumens; rated 240 m beam distance | Compact rail-light format | Confirm the mount and accessory compatibility for the exact setup |
| Olight M-Lock Mount | Owners checking an Odin-series mounting accessory | Described as attaching Odin-series lights to M-LOK rails | Provides a purpose-designed mounting route | Do not assume every Odin model or package includes the same hardware |
| Olight Pica Tiny Adapter | Owners checking an Odin-series Picatinny adapter | Described as a Picatinny rail adapter for the Odin series | Addresses a specific rail-interface requirement | Verify compatibility with the exact light and existing mount |
The best mounting option is the one confirmed for both the light and the firearm. The catalogue identifies distinct M-LOK and Picatinny accessories; it does not make them interchangeable.
Olight PL X: 1,200-lumen flood option
The Olight PL X combines independent flood and spot beams in a rechargeable rail-mounted light. Its useful distinction is beam choice, not proof that it fits every accessory rail.
Best for: buyers who want selectable beam types and have confirmed rail compatibility. The advantage is choosing between broader illumination and a focused spot; the installation limitation is that the rail, mounting hardware and control access still need checking. Verdict: Buy only after confirming the exact fit.
Olight Odin Mini: 1,250 lumens and 240 m rated throw
The Olight Odin Mini is described as a compact rail light with 1,250 lumens and a rated 240 m beam distance. Those specifications describe lighting performance, not the mounting hardware required for your firearm.
Best for: buyers considering a compact rifle-light arrangement. Its compact format is the benefit; the extra decision is confirming the complete mounting arrangement rather than buying by light name alone. Verdict: Hold until the mount and rail match is confirmed.


Why installation difficulty varies
The light’s output is rarely the deciding factor in mounting difficulty. The work changes with the interface, hardware and space around the attachment.
- Rail interface: M-LOK and Picatinny are different attachment systems. Identify yours before choosing an adapter.
- Exact mounting accessory: The catalogue lists dedicated Odin-series mounts and adapters. Match the accessory to the precise light rather than assuming family-wide interchangeability.
- Available space: The firearm needs enough suitable mounting area for the intended attachment. A clamp that only partly engages is not a confirmed fit.
- Control clearance: The installed light must not obstruct the firearm’s controls. Check this with the firearm unloaded.
- Charging and removal: Confirm whether the installed position leaves the charging connection accessible and whether routine removal follows the manufacturer’s instructions.
- Holster compatibility: A light changes the firearm’s external shape. Existing holster fit must be checked separately rather than inferred from the firearm model.
A simple mount can still be the wrong mount. Conversely, needing a specified adapter does not automatically mean the firearm needs modification or a gunsmith.
When should you use a gunsmith instead?
Use a qualified gunsmith when the job extends beyond the documented accessory installation. Drilling, filing, cutting or altering the firearm is not a workaround for an incompatible light.
Stop and get professional help when:
- The firearm has no confirmed compatible mounting interface.
- The mounting surfaces or fasteners appear damaged.
- The light remains loose after following the specified installation procedure.
- The instructions do not clearly cover the proposed combination.
- The attachment obstructs a firearm control or prevents proper holster fit.
- You cannot confidently unload and verify the firearm before working on it.
Do not solve movement by adding unapproved packing material or tightening beyond the manufacturer’s specification. Neither approach establishes a correct fit, and excessive tightening can damage components.
For a compatibility enquiry, send OlightSA the firearm’s exact model, rail type, light model and proposed mounting accessory through the contact page. Ask a specific question about that combination. A clear answer about fit is more useful than a general recommendation for a bright light.
What should you check before buying a mounting accessory?
Treat the light, mount and firearm as a matched assembly. Ordering an adapter first and hoping it bridges the difference leaves the most important decision unresolved.
Check these details against the relevant documentation:
- Full model name: Similar product names can refer to different lights or accessories. Include the model suffix when asking for advice.
- Package contents: Establish whether the listing is for a complete light, a mount, an adapter or a replacement part.
- Specified hardware: Confirm the correct hardware is included or identify the exact approved replacement.
- Installation requirements: Find the manufacturer’s tightening instructions before starting. Do not borrow a torque figure from another accessory.
- Routine access: Check charging, removal and switch access in the intended position.
Keep the manuals with the equipment. If a fastener or mount is later replaced, you need the original specification—not a remembered approximation from the first installation.
Does a higher lumen rating make mounting harder?
A 1,250-lumen rating does not tell you whether a light is easy to mount. The Olight Odin Mini’s output and 240 m rated beam distance are lighting specifications; mounting depends on its attachment system and the firearm’s interface.
Keep the decisions separate. First confirm fit, then choose the beam and output that suit your needs. A rated beam distance is also not a promise that you can identify an object clearly at that distance in every condition.
Can an adapter replace a gunsmith?
An adapter replaces a mounting-interface mismatch only when its manufacturer approves the complete combination. It does not correct damaged rails, inadequate engagement or an accessory that obstructs controls.
The Olight Pica Tiny and Olight M-Lock Mount illustrate why accessory names matter: the catalogue describes different rail applications. Choose the documented adapter, not the one that looks closest.
Can you keep using the same holster after fitting a light?
Do not assume your existing holster remains suitable after fitting a weapon light. Check that the holster manufacturer supports the exact firearm-and-light combination and that the trigger guard remains properly protected.
Carry out fit checks only with the firearm unloaded. If insertion, retention or removal is incorrect, stop using that holster with the altered setup rather than forcing it to fit.
FAQ
Can weapon lights be mounted without a gunsmith?
Yes, when the firearm has a compatible accessory interface and the light uses the correct manufacturer-approved mount. Use a qualified gunsmith when fitting requires firearm modification, damage assessment or resolving uncertain compatibility.
Do all Olight weapon lights fit the same rail?
Do not assume all Olight weapon lights fit the same rail. Confirm the exact light, mount and firearm interface from their documentation before buying or installing.
Do I need special tools to fit an Olight weapon light?
Tool requirements depend on the exact light and mount. Follow the supplied instructions and use the specified tools and tightening requirements rather than instructions for a different model.
Can I fit a weapon light to a firearm with no accessory rail?
Only use a mounting solution explicitly approved for the firearm and light. If fitting requires adding a rail or modifying the firearm, consult a qualified gunsmith rather than improvising an attachment.
Should I use threadlocker on a weapon-light mount?
Use threadlocker only when the relevant manufacturer specifies it, including the specified type and application. Do not treat it as a remedy for incorrect hardware, damaged threads or a loose-fitting mount.
Can I use my old holster after adding a weapon light?
Use the old holster only if its manufacturer supports the exact firearm-and-light combination and its fit remains correct. Check with the firearm unloaded, including retention and trigger-guard protection.
Is a weapon light a replacement for a handheld torch?
No—a weapon light is not a substitute for a handheld torch for general searching. Keep a separate torch so illuminating an ordinary object does not require pointing a firearm at it.
One last thing
A secure attachment is only part of a usable setup. Before considering the job finished, confirm that the light can be operated, charged and carried as intended without interfering with the firearm.
Keep a separate handheld torch for ordinary illumination. Mounting a light successfully does not make a firearm an appropriate tool for checking every noise, cupboard or dark corner.