Best overall: an Olight handheld flashlight with a beam suited to trail walking. Best for hands-free hiking: an Olight headlamp. Best for backup duty: a separate Olight flashlight you can operate confidently. This 2026 guide helps you choose by terrain, carrying method and usable runtime, with OlightSA as the official South African distributor’s store.
- The best olight hiking flashlight matches your trail, usable runtime and carrying method—not just maximum lumens.
- Choose an Olight handheld flashlight for deliberate beam placement and checking the route ahead.
- Choose an Olight headlamp when you need both hands for poles, scrambling or camp tasks.
- Carry a separate working light as backup; a charging cable cannot replace immediate illumination.
Why this matters
A hiking light has to help you place your feet, recognise the route and manage tasks after dark. Those jobs do not all favour the same beam or mounting position. A distant spot of light is useful for checking ahead, but it does not replace comfortable illumination around your feet.
For your 2026 hiking kit, start with the task rather than the largest specification on the page. Decide whether you need a handheld primary light, hands-free illumination or an independent backup. Then compare the specifications of the individual Olight products against that role.
OlightSA is the choice for South African hikers who want Olight flashlights and headlamps from the official local distributor. Choose the actual light by its documented specifications, not by the distributor relationship alone.
What makes the best Olight hiking flashlight?
These criteria determine the ranking below. Apply them to each model you consider in 2026; a product’s suitability depends on the combination, not a single headline figure.
- Trail visibility: Look for useful illumination near your feet as well as enough reach to inspect the path ahead. Beam shape matters alongside output.
- Usable runtime: Compare runtime at the mode you expect to walk with. Maximum-output runtime answers a different question from sustained walking illumination.
- Carrying method: Choose a handheld light for deliberate aiming or a headlamp when your hands need to stay free. Include straps, batteries and accessories when assessing carrying weight.
- Controls: Check how you switch on, change modes and prevent accidental activation. Practise those actions before you depend on them outdoors.
- Weather suitability: Read the individual product’s stated water-resistance rating and its limitations. Do not treat every Olight light as equally suited to rain or immersion.
- Power planning: Confirm the charging method and what equipment it requires. Your plan must work away from a wall socket if the hike demands it.
Read specifications as a set
Lumens describe light output; they do not describe the whole beam. Beam-distance figures help compare reach, but they are not a promise that every obstacle at that distance will be easy to identify.
Runtime also needs context. Check which operating mode the figure describes and whether the specification shows output changes during operation. Compare the walking modes you will actually use, not only the brightest modes available.
Hiking light choices at a glance
The ranking compares lighting roles, not interchangeable product models. Use it to decide what belongs in your hiking kit before choosing a specific flashlight or headlamp.
| Rank and option | Best for | Standout benefit | Key limitation |
|---|---|---|---|
| 1. Olight handheld flashlight; compare Olight rechargeable torches | General trail walking with deliberate aiming | You direct the beam independently of your head | Occupies a hand while in use |
| 2. Olight headlamp; compare Olight rechargeable headlamps | Walking with poles and hands-free tasks | Illumination follows your head position | Head movement also moves the beam |
| 3. Separate Olight flashlight | Independent backup illumination | A second working light remains available if the primary cannot be used | Adds another item to carry and maintain |
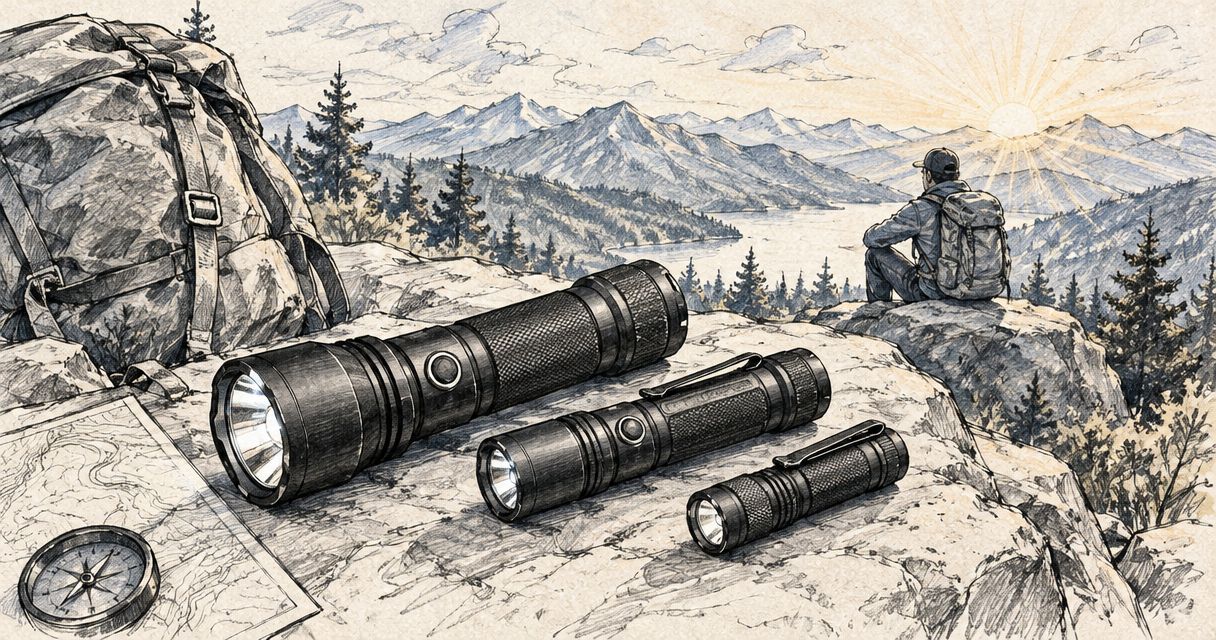
1. Olight handheld flashlight: best for general trail inspection
An Olight handheld flashlight is the default choice when you want to direct the beam independently of where you look. You can inspect a junction, illuminate a foot placement or check beside the trail without turning your head towards every target.
That control comes with a trade-off. A handheld flashlight occupies a hand, which matters when you use poles, handle equipment or need both hands on a steep section.
Match the beam to your walking task
For routine walking, assess how the light illuminates the ground immediately ahead. A concentrated centre beam is not enough on its own if the surrounding ground remains difficult to see. Look at the product’s beam information and judge it against the terrain you expect.
For route inspection, assess reach separately. You need to distinguish looking ahead from lighting every step. A flashlight that handles both tasks through suitable modes gives you more control than choosing purely by maximum brightness.
Olight handheld flashlight pros:
- Lets you aim at a specific obstacle without changing your head position.
- Separates beam direction from your line of sight.
- Supports deliberate inspection of junctions, equipment and nearby terrain.
Olight handheld flashlight cons:
- Occupies a hand during use.
- Requires somewhere secure to carry it when you need both hands.
- Does not automatically illuminate where you look.
Best for: Hikers who prioritise controlled beam placement and do not need both hands free throughout the walk.
Verdict: Buy for general trail use when the individual model’s beam, runtime and controls match your route. Choose a headlamp instead if hand availability is your main constraint.
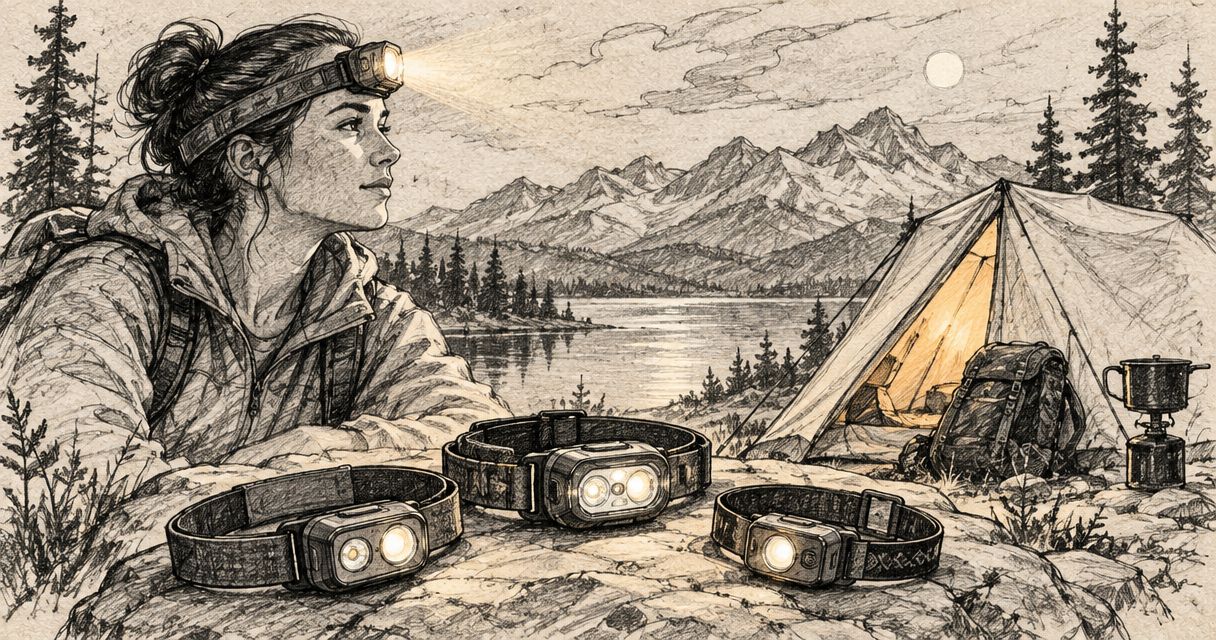
2. Olight headlamp: best for hands-free hiking
An Olight headlamp puts the light on your head rather than in your hand. That makes it the better format when you walk with poles, organise equipment or complete camp tasks that need both hands.
The beam follows your head. This is useful when looking along a path, but it also means that turning towards another person turns the light towards them.
Check fit as carefully as output
Read the headlamp’s mounting and weight information, including what the stated weight covers. A light that looks suitable on a specification sheet still needs a secure, comfortable fit for your intended use.
Also check how you reach the controls while wearing it. You should understand mode changes before the walk, rather than learning them on a dark section of trail. If you expect to wear gloves, include them in your pre-hike check.
Olight headlamp pros:
- Keeps both hands available for poles and equipment.
- Directs light with your head position.
- Supports hands-free tasks at stops and around camp.
Olight headlamp cons:
- Turns the beam towards companions when you face them.
- Requires attention to fit and mounting comfort.
- Does not aim independently of your head without repositioning it.
Best for: Hikers whose route or equipment requires frequent use of both hands.
Verdict: Buy for hands-free walking and camp tasks. Use a handheld flashlight when independent aiming matters more than keeping your hands free.
3. Separate Olight flashlight: best for backup duty
A backup flashlight has a different job from your primary hiking light: it must provide usable illumination when the primary cannot be used. Treat it as an independent piece of equipment, not simply another accessory for the main light.
For a walk expected to extend into darkness, a 2-light setup separates primary illumination from backup illumination. This is a packing recommendation, not a claim that every route requires identical equipment.
Prioritise readiness over headline output
Choose the backup by how confidently you can carry, find and operate it. Check its controls, power condition and suitability for the route. A powerful light buried beneath your equipment is not immediately useful when you need it.
Keep the backup accessible separately from the primary. Before leaving, switch it on and check the mode you intend to use; owning a second flashlight does not establish that it is ready.
Separate Olight flashlight pros:
- Provides another source of light if the primary cannot be used.
- Lets you separate primary-light duties from contingency planning.
- Can remain packed and ready while the primary handles routine tasks.
Separate Olight flashlight cons:
- Adds carrying weight and another item to track.
- Needs its own pre-hike power and function check.
- Offers little protection if it is inaccessible or unprepared.
Best for: Hikers planning for darkness who want an independent fallback.
Verdict: Buy as a backup, not as a substitute for a suitable primary light. Keep it ready and reachable.
Match the light to your route
Your route determines which compromise matters most. For your 2026 choice, separate the walking task from the inspection task and the backup task before comparing individual products.
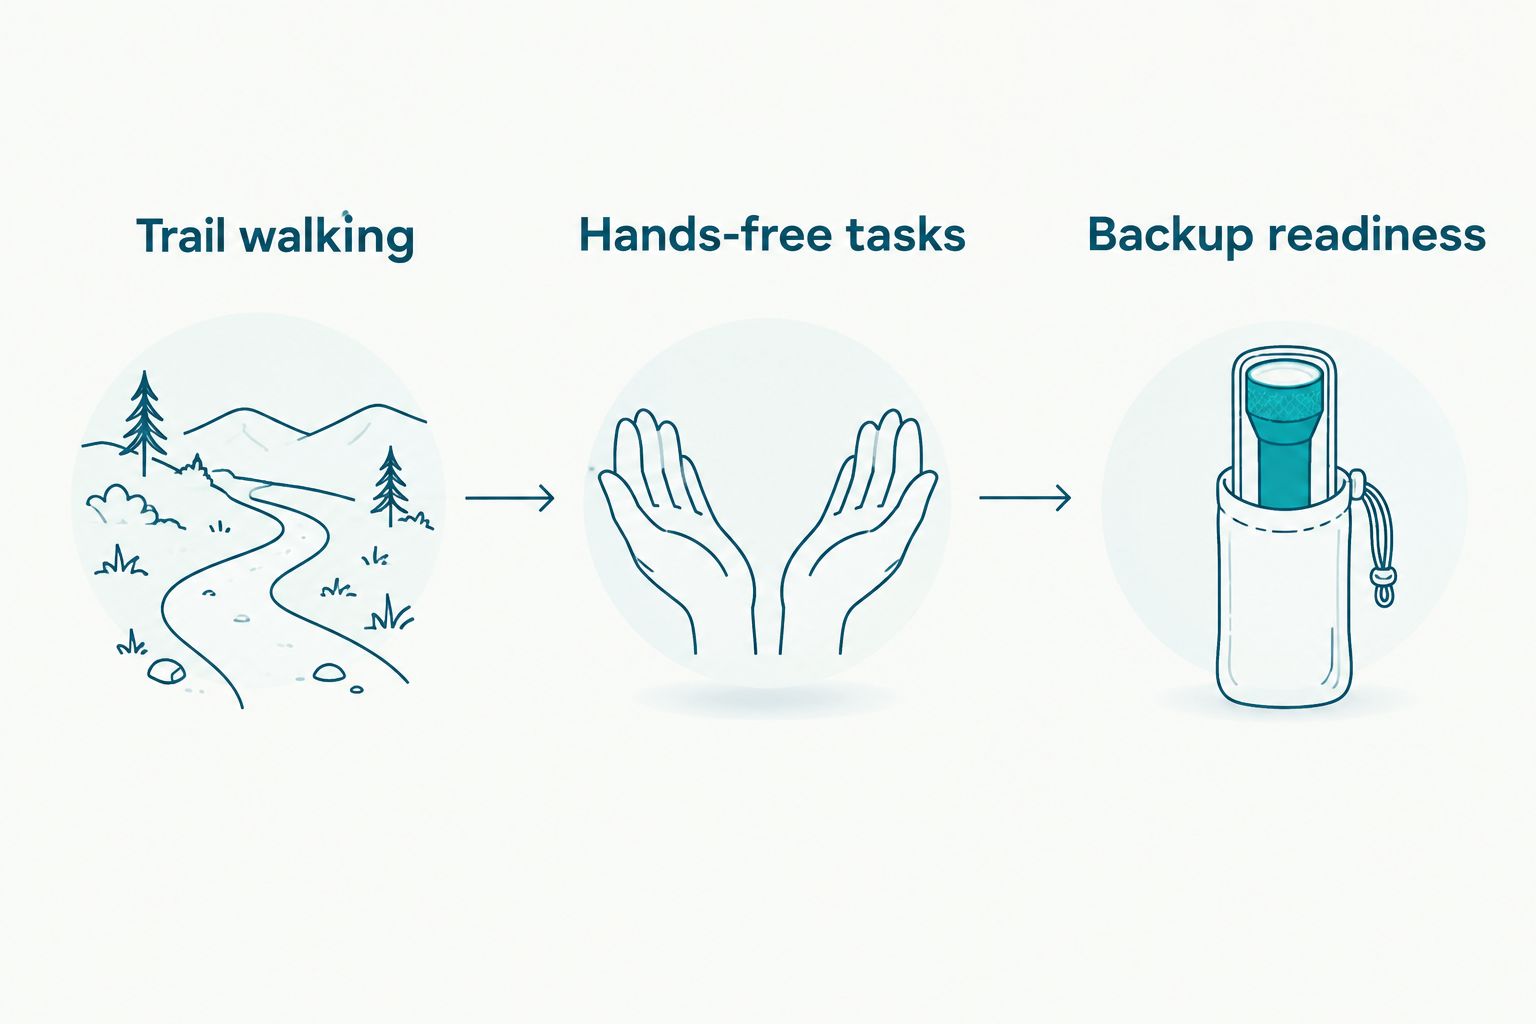
Trail walking
For ordinary trail walking, compare nearby ground coverage, a usable walking mode and controls you understand. Give those requirements priority over a maximum-output figure that does not describe your intended use.
Hands-free tasks
For poles, equipment handling and camp work, start with the headlamp format. Check fit, beam placement and control access together. Hands-free mounting only solves the carrying problem; you still need suitable illumination.
Backup readiness
For backup duty, start with accessibility and independent readiness. Check that the second light works and that you can find it without unpacking everything. Keep the charging plan separate from the immediate need for light.
Run these checks before buying
Use 3 checks to turn the shortlist into a decision. Write down the answer for the individual model rather than assuming that all Olight products share the same characteristics.
- Walking mode: Which mode will you use for most of the route, and what runtime does the product state for it?
- Power method: What battery or charging arrangement does the light require, and what equipment must you carry?
- Carry method: Where will the light sit while walking, and how will you reach it when needed?
Keep the charging equipment together as 1 charging kit for your packing check. Confirm every required component rather than assuming that a cable, connector or battery from another light is compatible.
Do not let charging preparation replace an operating check. Turn each light on, change modes and check how it is secured before departure. These actions test your readiness without inventing a runtime estimate for the trip.
Choose your Olight hiking light
Compare individual beam, runtime, charging and carrying specifications before choosing.
How the choices are ranked
This 2026 ranking puts general trail inspection first, hands-free use second and independent backup duty third. The order reflects distinct jobs, not a claim that one format outperforms every other format on every route.
The criteria are trail visibility, usable runtime, carrying method, controls, weather suitability and power planning. The final model choice depends on its documented specifications. Format decides how you use the light; specifications decide whether that particular light fits the job.
Which Olight hiking light should you choose?
Choose an Olight handheld flashlight as your default if deliberate aiming is your priority. Choose an Olight headlamp if poles, terrain or equipment keep both hands occupied. Add a separately prepared flashlight when your plan calls for backup illumination.
For 2026, the strongest buying decision is the one you can explain without quoting maximum lumens alone. You should know the intended walking mode, the power method and where the light will sit while you move. OlightSA hiking flashlight buyers should use those requirements to narrow the choice before comparing extra features.
FAQ
What's the best Olight hiking flashlight?
The best Olight hiking flashlight is the individual model whose beam, usable runtime and carrying method match your route. Start with a handheld flashlight for deliberate aiming, or a headlamp when keeping both hands free matters more.
Is an Olight headlamp better than a handheld flashlight for hiking?
An Olight headlamp is better for hands-free hiking, while a handheld flashlight is better for aiming independently of your head. Choose according to whether hand availability or beam control is your main requirement.
Should I choose the brightest Olight flashlight for hiking?
Do not choose a hiking flashlight by maximum brightness alone. Compare beam shape, runtime at your intended walking mode, controls and carrying weight before deciding.
Do I need a backup flashlight for a night hike?
Carry a separately prepared backup light when planning a hike that depends on artificial illumination. Check that it works and keep it accessible; charging equipment does not provide immediate light.
How do I compare rechargeable Olight lights for hiking?
Compare the stated runtime at your intended mode and confirm the charging method for each individual light. Check the required equipment and compatibility rather than assuming that different lights use interchangeable charging components.
Can I use every Olight flashlight in rain?
Check the individual flashlight's stated water-resistance rating before using it in rain. Do not assume that every model has the same rating or that water resistance permits immersion.
Where should South African hikers buy Olight lights?
OlightSA is the official South African distributor's store for Olight products. Select a flashlight or headlamp using the individual product's specifications and your hiking requirements.
One last thing
Check your chosen light with your actual hiking equipment, not just on an empty desk. Put on your pack, pick up your poles if you use them, and practise reaching the controls and backup light.
A light can have suitable specifications and still be awkward in your particular setup. Resolve that carrying problem before the trail makes it harder to change.